


This post may contain affiliate links. Please read our disclosure policy.
Have you ever craved something sweet but felt guilty afterward?
I totally get it!
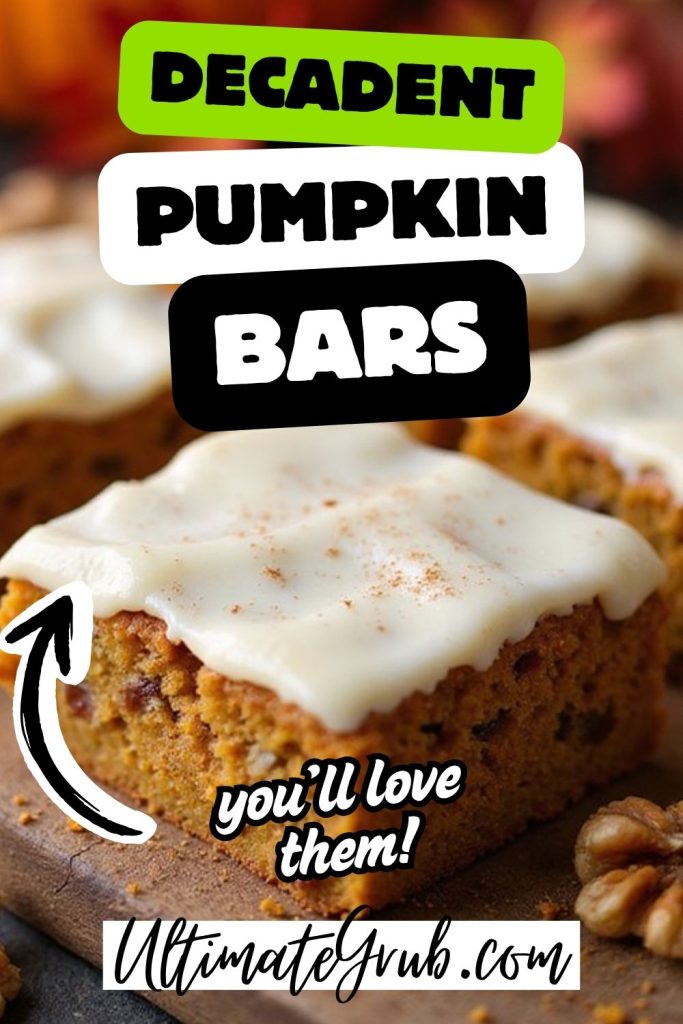
That’s why I love these Light & Luscious Pumpkin Bars.
They’re fluffy, delicious, and packed with goodness.
Plus, you can even toss in some chocolate chips or nuts if you’re feeling adventurous!
Curious about how to whip these up?
Let’s plunge into the tasty details!
Why You’ll Love these Light & Luscious Pumpkin Bars
You know those days when you want something sweet but don’t want to feel guilty about it? That’s where these Light & Luscious Pumpkin Bars come in!
They’re the perfect guilt-free dessert!
Pumpkin’s packed with benefits like fiber and vitamins, so you can indulge without the usual remorse. And trust me, I’m all about that sweet life, but I don’t want to sabotage my diet! These bars are light, fluffy, and oh-so-delicious! You’ll be amazed at how satisfying they are.
Plus, they can be easily customized with add-ins like chocolate chips to suit your preferences!
What You’ll Need
Before diving into the deliciousness of these pumpkin bars, let’s gather our ingredients!
We’ll need 1 cup of fat-free egg substitute, 1 2/3 cups sugar, and 1 cup of applesauce.
Don’t forget the star—2 cups of cooked pumpkin!
And for that perfect texture, grab 2 cups of flour, 2 teaspoons of cinnamon, and a pinch of salt.
I like to toss in 1/2 cup of chopped walnuts for a little crunch.
These ingredients not only bring seasonal flavors but also pack some nutritional benefits! Fresh pumpkins are often used in various autumn recipes, enriching both taste and health.
Ready to create something amazing? Let’s do this!
Tools For This Recipe
- 9 x 13 Pan
- Mixing Bowl
- Measuring Cups
- Spatula
Ingredients For Light & Luscious Pumpkin Bars
To create these light and luscious pumpkin bars, you’ll need a delightful combination of ingredients that come together to form a moist and flavorful treat. The use of fat-free egg substitute and applesauce helps to keep the bars lower in fat while still guaranteeing they remain decadent and satisfying.
The addition of spices like cinnamon brings warmth and depth to the flavor, making these bars perfect for any autumn gathering or simply as a sweet indulgence. To enhance the moisture and flavor of your pumpkin bars, consider incorporating essential ingredients that provide a rich taste and texture.
As you prepare to bake, gather your ingredients carefully. The combination of cooked pumpkin, flour, and a touch of walnuts adds texture and richness to each bite.
And don’t forget the creamy icing made with reduced-fat cream cheese, which takes these bars to the next level of deliciousness!
Ingredients:
- 1 cup fat-free egg substitute
- 1 2/3 cups sugar
- 1 cup applesauce
- 2 cups cooked pumpkin (from the can or homemade)
- 2 cups flour
- 2 teaspoons cinnamon
- 2 teaspoons baking powder
- 1 teaspoon baking soda
- 1 teaspoon salt
- 1/2 cup walnuts, chopped
- 1 (3-ounce) package reduced-fat cream cheese, softened
- 2 cups confectioners’ sugar
- 2 tablespoons butter
- 1 teaspoon vanilla
- 1-2 teaspoons skim milk
When making these pumpkin bars, be sure to measure your ingredients accurately for the best results. Mixing the wet and dry ingredients separately before combining them helps to avoid overmixing, which can lead to denser bars.
Allow the bars to cool completely before spreading on the icing to guarantee a smooth finish. If the icing is too thick, simply add a little more skim milk until you reach your desired consistency.
Enjoy your baking!
How To Make these Light & Luscious Pumpkin Bars
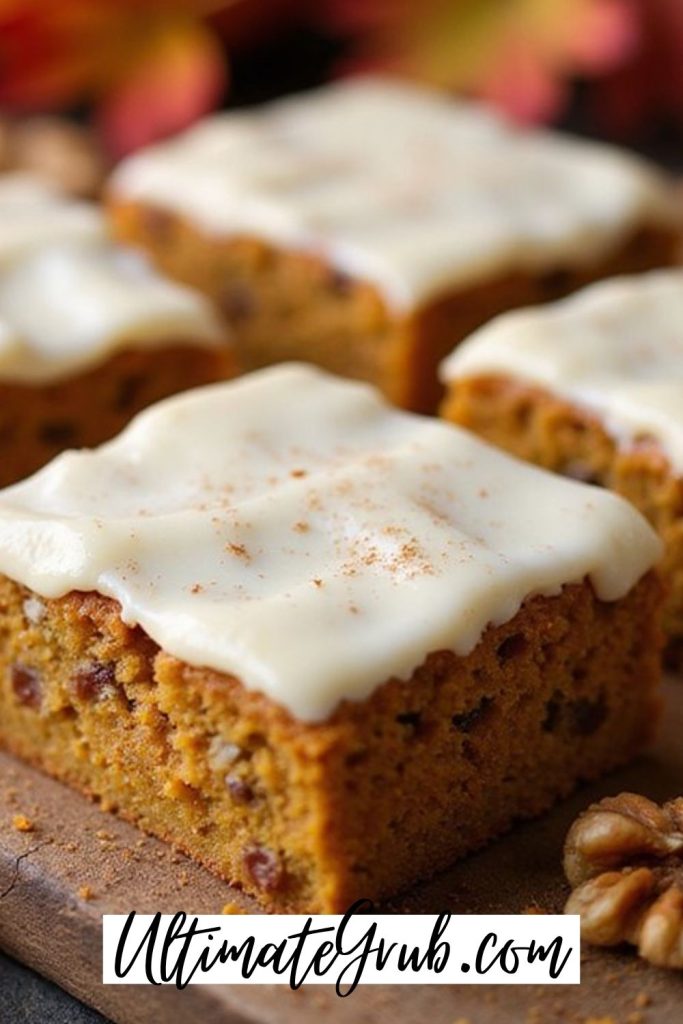
To make these light and luscious pumpkin bars, start by preheating your oven to 350°F (175°C). In a large mixing bowl, combine 1 2/3 cups sugar, 1 cup applesauce, 1 cup fat-free egg substitute, and 2 cups cooked pumpkin (you can use canned pumpkin or homemade). Beat these ingredients together until they’re well blended and smooth. This mixture will serve as the moist base for your bars, incorporating the sweetness of the sugar and the natural flavors of the pumpkin and applesauce.
Next, sift together the dry ingredients: 2 cups flour, 2 teaspoons cinnamon, 2 teaspoons baking powder, 1 teaspoon baking soda, and 1 teaspoon salt. Once sifted, gradually mix the dry ingredients into the wet mixture, stirring until just combined. Be careful not to overmix, as this can lead to denser bars.
If desired, fold in 1/2 cup of chopped walnuts for added texture and crunch. Once everything is well combined, pour the batter into a greased 15x10x1-inch baking pan and spread it evenly. Bake in the preheated oven for 23-27 minutes, or until a toothpick inserted into the center comes out clean. Allow the bars to cool completely in the pan.
While the pumpkin bars are cooling, prepare the creamy icing. In a medium bowl, mix together 1 (3-ounce) package of softened reduced-fat cream cheese, 2 cups of confectioners’ sugar, 2 tablespoons of butter, 1 teaspoon of vanilla, and 1-2 teaspoons of skim milk. Blend until smooth, adding more milk as needed to achieve your desired consistency.
Once the pumpkin bars have cooled completely, spread the icing evenly over the top for a delicious finishing touch. Cut into squares, serve, and enjoy these delightful treats!
Light & Luscious Pumpkin Bars Substitutions and Variations
When it comes to making these pumpkin bars, I love getting creative with substitutions and variations!
You can try different sweetener choices like honey or maple syrup.
And for gluten-free swaps, use almond or coconut flour.
Want them dairy-free? No problem! Substitute with almond milk or coconut yogurt.
And if you’re nut-free, just skip the walnuts!
Flavor variations? Add some chocolate chips or a sprinkle of nutmeg for a twist!
There are so many substitutions options out there. I’m always experimenting.
It’s like a tasty science project! So, don’t be afraid to make these pumpkin bars your own!
For an irresistibly moist texture, consider using fresh pumpkin puree in your recipe for the best results.
What To Serve With these Light & Luscious Pumpkin Bars
So, you’ve whipped up a batch of those delicious pumpkin bars—now what?
Let’s make it a cozy treat! I love pairing them with warm beverages. How about a steaming cup of pumpkin spice latte? Yum! Or maybe some spiced apple cider?
But don’t stop there! A dollop of whipped cream on top of the bars can take them to the next level.
And if you’re feeling fancy, serve them with a scoop of vanilla ice cream.
Trust me, your friends will be begging for more! What’s not to love? Enjoy every bite—guilt-free, of course! You could also consider serving them alongside a festive drink like a spooky themed beverage, such as the Spooky Blue Slime Sipper, to really enhance the Halloween vibe!
Leftovers and Storage
After you’ve devoured those delicious pumpkin bars, you might be wondering what to do with the leftovers! Don’t worry; I’ve got you covered!
Storage Tips
To keep them fresh, store the bars in an airtight container at room temperature for up to three days.
Freezing Options
Want to save some for later? You can freeze them! Just wrap individual bars in plastic wrap, then pop them in a freezer bag.
They’ll last up to three months.
And trust me, nothing beats a frozen pumpkin bar treat on a chilly day! Enjoy every bite!
FAQs
Can I Use Fresh Pumpkin Instead of Canned?
Absolutely, you can use fresh pumpkin instead of canned! Fresh pumpkin has that amazing flavor and loads of nutrients.
To prepare it, just roast or steam the pumpkin first. It’s a bit more work, but totally worth it!
And hey, don’t worry if it’s messy; I’ve been there! Just scoop out the insides, blend it up, and you’re ready to go!
Trust me, your taste buds will thank you!
How Can I Make These Bars Gluten-Free?
To make these bars gluten-free, swap regular flour for a gluten-free blend! I usually grab one labeled “1:1” for ease.
And don’t forget to check your baking powder for gluten—it can sneak in sometimes!
Baking tips? Add a little extra moisture, like applesauce. It keeps things light and fluffy.
Trust me, I’ve had my share of gluten-free flops.
But this combo? Total winner! Enjoy your baking adventure!
What’s the Best Way to Store Leftover Pumpkin Bars?
To store leftover pumpkin bars, I’ve found the best way is to use airtight containers.
Just pop them in!
And don’t forget to let them cool completely first—nobody likes a soggy dessert!
If you’re feeling fancy, you can add a layer of parchment paper between the bars.
They’ll last about 3-5 days in the fridge.
But honestly, they mightn’t last that long—they’re too yummy!
Can I Freeze These Pumpkin Bars for Later?
Absolutely, you can freeze these pumpkin bars for later!
Just cut them into squares and pop ‘em in airtight storage containers.
Don’t forget to label them with the date—trust me, you’ll thank yourself later!
And if you want to get fancy, wrap each piece in plastic wrap before putting them in the container.
They’ll stay fresh for about 3 months. Yum! Who doesn’t love a little pumpkin treat waiting in the freezer?
How Long Do the Bars Stay Fresh?
Well, if you store those bars right, they can stay fresh for about a week!
And if you wanna keep them longer, try freezing them. Isn’t that a lifesaver?
I’ve learned that moisture retention is key. Just wrap them tightly to avoid drying out.
But don’t worry; they’re so good, they probably won’t last that long anyway!
Who can resist a delicious pumpkin treat?
Final Thoughts
So, there you have it! These Light & Luscious Pumpkin Bars are not just tasty; they’re a guilt-free way to satisfy your sweet tooth! And let’s be honest—who doesn’t love a treat that’s both delicious and good for you?
Whether you make them for yourself or share with friends, I know you’ll love them. Now go on, whip up a batch!
Your taste buds will thank you, and your waistline will too!

