Making a roux is like the secret handshake of the culinary world. It’s simple, yet so magical. Envision this: you heat equal parts butter and flour, and suddenly, you’re a sauce wizard.
But watch closely, because it can go from golden goodness to charcoal in seconds. And let’s be real; burnt roux is not the culinary gold standard we’re aiming for.
Ready to elevate your soups and sauces? Let’s explore the details that’ll make you a roux master.
Mastering the Art of Roux

When I first tried to make a roux, I think I must’ve underestimated its magical powers. Seriously, it’s like the fairy godmother of the cooking world. I mean, who knew a simple blend of flour and fat could transform into a silky sauce?
It took me a few tries to get it right, and let me tell you, there were some disasters along the way. You don’t want to know how many times I almost set my kitchen on fire.
So, let’s break it down. Making a roux is one of those essential cooking techniques that every home chef should master. Grab equal parts flour and fat—usually butter, but hey, use whatever you have on hand.
Heat your fat in a pan over medium heat until it’s bubbly but not browning. Then, whisk in the flour. This is where the magic begins. Keep stirring, and you’ll notice it starts to thicken and bubble.
You’ve got to pay attention here; it can go from perfect to burnt faster than you can say “sauce variations.”
Now, depending on how long you cook it, you can create different flavors. A light roux is great for white sauces, while a darker roux adds a nutty richness to gumbo or chili. Who knew a little bit of patience and lots of stirring could create such depth? Using a premium cast iron skillet can help ensure even heat distribution for a perfect roux.
Here’s a fun tip: If you’re feeling adventurous, try adding garlic or herbs to your roux for an extra flavor kick. Just don’t let your garlic burn, or you’ll ruin the whole thing. Trust me, I’ve learned the hard way.
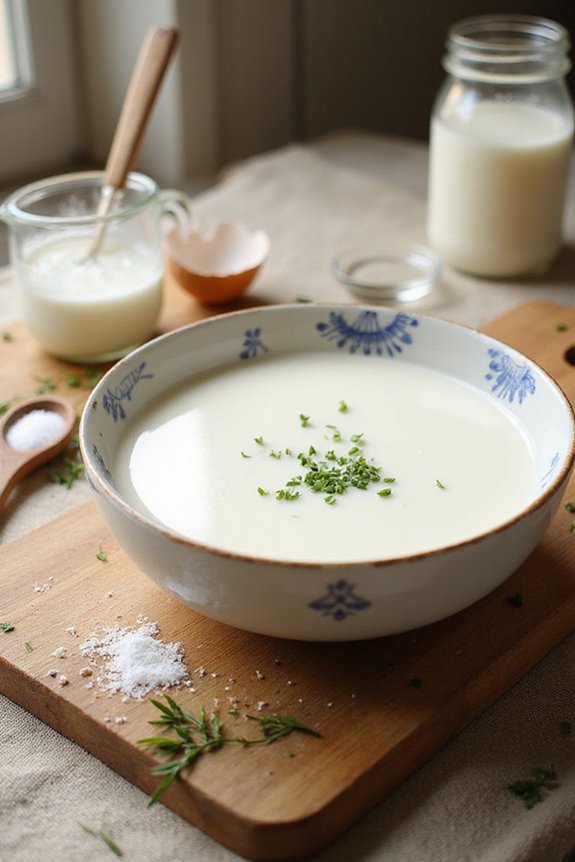
Once your roux is ready, you can whisk in broth or milk to create your sauce. Voila! You’ve got yourself a delicious base for soups, gravies, or whatever tickles your taste buds. Just remember, practice makes perfect. And if you mess it up, well, at least you’ve got a funny story to tell.
FAQs
Can I Use Gluten-Free Flour for Making Roux?
Absolutely, you can use gluten-free flour for making roux. I’ve done it myself when the gluten gods weren’t on my side.
Just remember, some gluten-free options, like almond or coconut flour, mightn’t thicken like traditional flour. I usually stick with rice flour or a gluten-free blend; they work wonders.
It’s like magic, really. You get that silky sauce without the gluten drama. Give it a try, and you might surprise yourself!
How Long Can I Store Leftover Roux?
You can store leftover roux in the fridge for about a week, but if you want to extend its shelf life, freeze it.
Just pop it in an airtight container, and it’ll last for a couple of months.
I once had a batch sit in my fridge too long—talk about a culinary tragedy.
So, label it, date it, and keep track.
Trust me, your future self will thank you when you need a quick sauce!
Can I Make Roux in the Microwave?
Yes, you can make roux in the microwave! Just mix equal parts flour and fat—like butter—or oil in a microwave-safe bowl.
Start with a minute on high, then stir. Keep zapping it in 30-second intervals until you reach your desired roux consistency.
It’s a bit like cooking magic, but with a hint of science. Just watch it closely; no one wants burnt flour that smells like regret. Trust me, I’ve been there!
What Type of Fat Is Best for Roux?
The best fat for roux? I’m a butter lover, but let’s not limit ourselves.
Butter alternatives like olive oil or vegetable oil work great too. Each brings its own flavor.
I once tried coconut oil, thinking I was a culinary genius. Spoiler: it turned my sauce into a tropical vacation.
If you’re feeling adventurous, ghee adds a rich taste.
Just remember, whatever you pick, keep it equal parts with flour. Happy cooking!
How Do I Know When the Roux Is Done?
You’ll know your roux is done by its color and texture. If it’s a light golden brown, you’re on the right track.
I once turned mine into a dark chocolate color—whoops, not what I wanted. Aim for a smooth, silky feel, not grainy.
Remember, the longer you cook it, the deeper the flavor, but don’t walk away—it burns faster than my hopes of a perfect soufflé.
Keep stirring, and trust your senses!
Final Thoughts
So there you have it—making a roux is like a little dance in the kitchen. You heat, whisk, and watch the colors change, all while dreaming of creamy soups and rich sauces. It might seem tricky at first, but trust me, you’ll nail it. And hey, if it burns, just pretend you were going for that “smoky” flavor. Seriously, practice makes perfect. So grab your butter and flour, and let’s get cooking. Your taste buds will thank you.